Hey @CamDavidsonPilon,
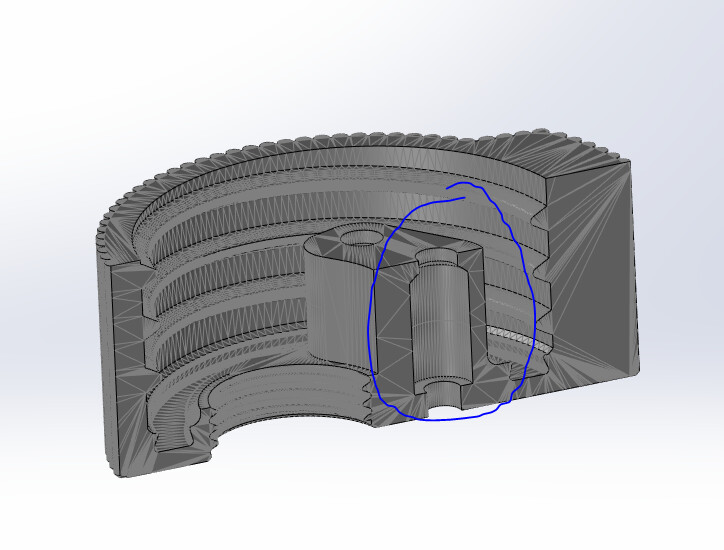
What is the purpose of the cavity where the stainless tubes feed through? Do you place any flexible component, like an O-ring or sealing material, for air-tightness inside?
Hey @CamDavidsonPilon,
What is the purpose of the cavity where the stainless tubes feed through? Do you place any flexible component, like an O-ring or sealing material, for air-tightness inside?
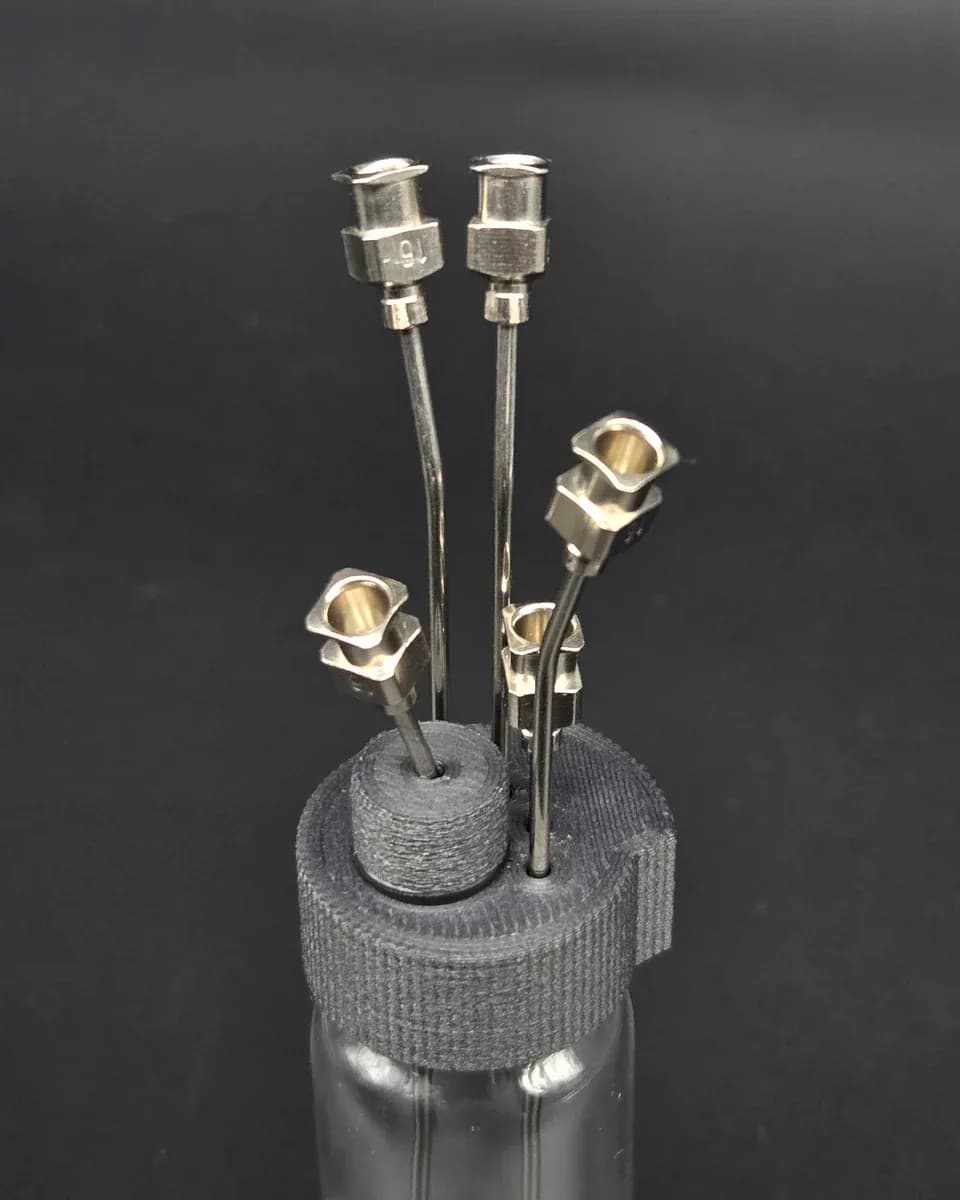
During printing, we pause the machine and put short lengths of 1/8" OD 1/16" ID tubing in there. This acts as a “friction” and sealing: it’s not quite air tight, however.
Not a bad solution for such a small area. Have you tried under sizing the silicon tubing id relative to the metal tube od. That way there is a radial compressive force to give you airtightness.
Generally 20% compression is a good balance between seal and being able to get the tube in. I have only done this with orings not silicone tubes though.
It definitely it’s already undersized. We could make it air-tight be reducing the diameter of the cavity, but then getting the tube into the cavity becomes too difficult. Something we are working on though!
to add some more details: in theory, we could fit the tubing in, but in reality, artifacts like seams, layer lines, etc. interfere and the tubing requires too much force and wiggle to get in. We’ve tried a few techniques, but have more lined up to try too
I would add orings of list of things to try.
Cons:
Pros:
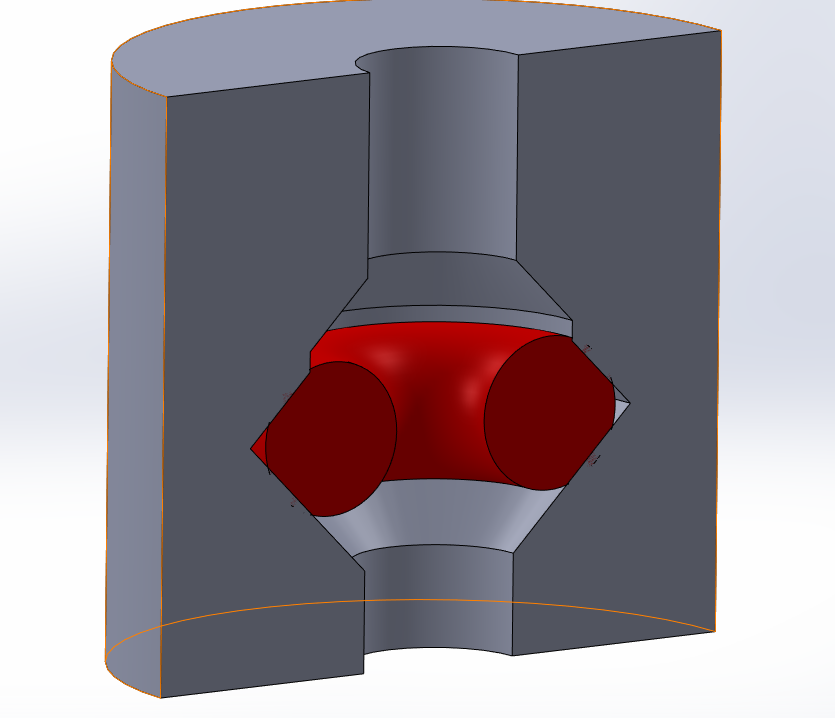
Was curious so whipped up a quick sketch and it worked well based on very basic air tightness testing:
you can see the oring intersecting the walls slightly, that is the compression surfaces. I paused the print right before that small vertical layer and pressed oring in with my finger and it did not pop out. to pressure test this I suggest modeling a luer lock on the top of the print and connect to a syringe. Use a solid rod instead of ur metal tube with same od.